Finally the weather has moved from the hot and sticky into much cooler with rain or light showers. Much easier to live with, and giving us all a break.
The thing is though I think my new lot of dried beans, which like hot( not humid) weather, have succumbed to mould which was not a surprise, but also a strange thing I have to investigate, of lovely green beans drying on the vine to nothing just the outside shell, with no beans inside. I have never known this to happen and will be asking the specialist supplier Seed Freaks in Tasmania, what went wrong.
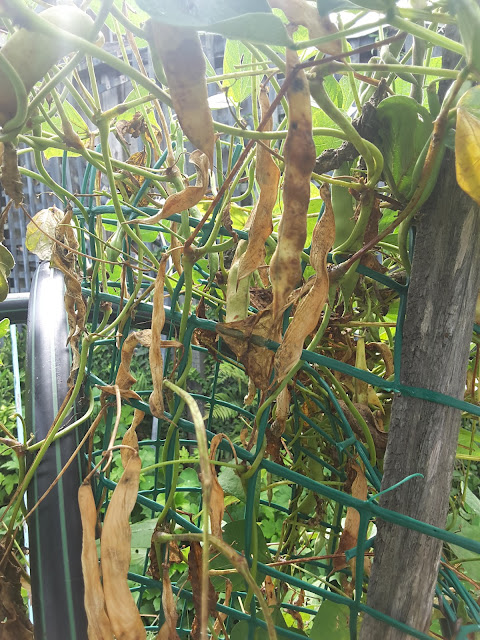 |
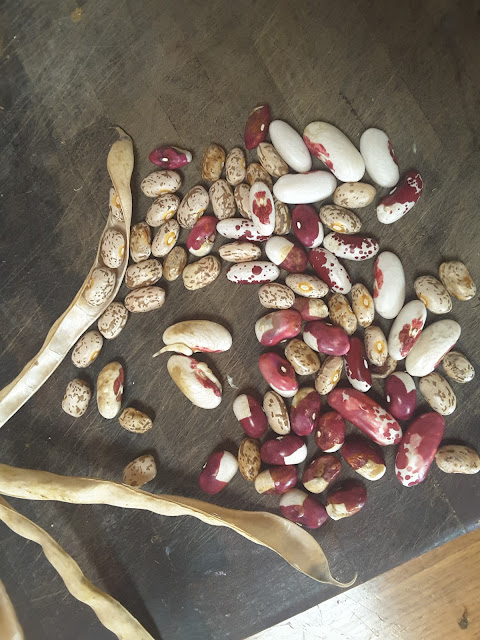
Hard to tell but most of these have nothing inside.
|
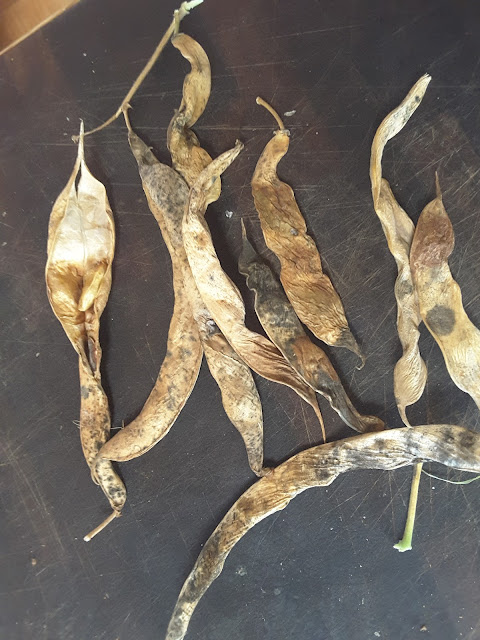
It may be hard to see but most of the beans above are just thin dried shells. Not all is lost as the ones below do have some nice plump beans, but the black on them is mould so I won't use these as growing seeds, only soups etc. the green beans themselves look normal.
 |
Not is all lost, still more on the vines, which I will keep a better eye on.
|
A couple have started growing, so will be interesting when I peel open the rest today. Should I plant them is the question? Generally all look ok to use though, just need more drying out.
 |
The Skinny Version
|
 |
Last pick on Friday.
|
Quilting
group has gone back this past week but I am waiting to go after my
visit to my RA specialist in Brisbane, Wednesday week, so I know what
the next step is with these booster injections.
Hate
that my RA injections combined with Covid stuff, is going into my
system, but no-one can tell me if this mixture combined with
methotrexate tablets, all powerful drugs, is a good mix. So far so good
though, but still very wary of it all.
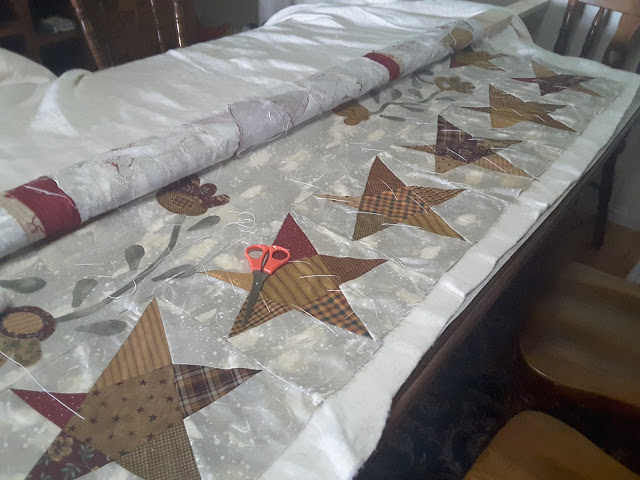
In the mean time I thought I had better get a move on and Baste this birthday quilt. Normally it is done with pins. Spread the 3 layers, on the floor, or large table, the Backing, Batting, and Quilt top, all smoothed out no wrinkles the start in the middle and pin, roughly 3 or 4 fingers apart in a cross formation to the end then start again in the middle and fill in the rest. At least, I think that is the usual way, not done big ones only little wall hangings.
First of all even if I could find enough floor space I am no way getting down on the floor too spread it all out let alone to pin it together bit by bit. So I researched hand basing which proved to be so much easier and just as quick.
 |
| 3 layers bottom is backing, then wadding, then top layer. |
1.There are plenty of you tube videos but basically you get two long boards and fold and smooth as you go, wrapping carefully, the backing fabric, around the first board.
2.The second you do the same to the quilt top smoothing and folding as you go.
3.The backing one is put down with wrong side up and unwound about an elbow to finger length.
Smoothed out nice and straight.
4.The wadding is then placed on top of this and the bulk of it just goes behind. I was using our dining room table so I placed a chair for it to lie on once the piece came to the end of the table.
5. The quilt top was then place right side up with a matching length rolled out, and smoothed out as well. Important to have no wrinkles any where as is when pinning.
Boards on top of each other with batting in the middle.
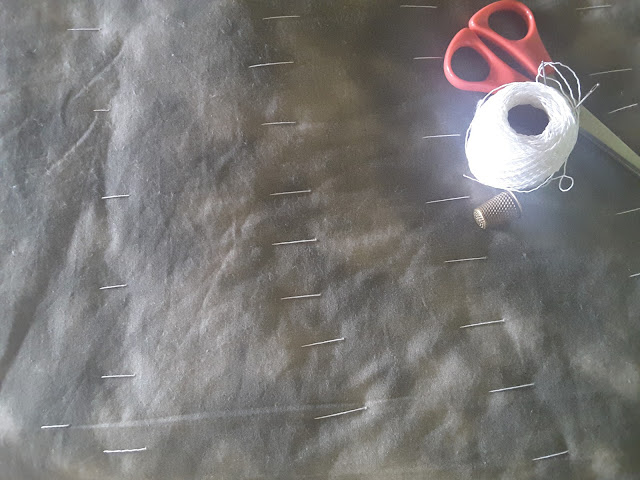
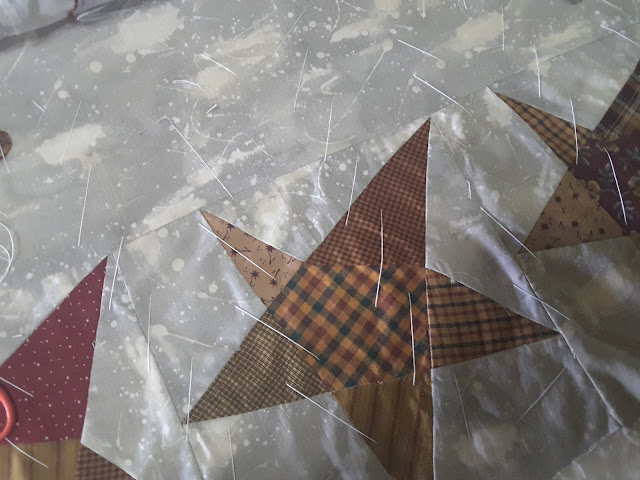
I used a very thin crotchet cotton for stitching, to use it up,started in the middle, and the stitch is one used in tailoring collars, and parts of suiting in the garment trade. I used... SharonSchamberNet.. as my inspiration.
Each stitch that goes under, joining all fabric together, is the same as a pin, starts at top and goes down, taking a big stitch through all layers, to bottom, then back up depending on the length of thread, no knotting off either.
Some wrinkles are on back but I think I will iron it first then, correct as needed.
 |
Back view
|
For a first time of doing this very pleased with the result and no pins hanging anywhere which means should I put this aside for a long time, rust could be a problem if I had pins. No crawling around on the floor either, and took about the same time but so much easier, as pins are hard to click together. You could do this way and still use pins, but I would protect the table underneath with something.
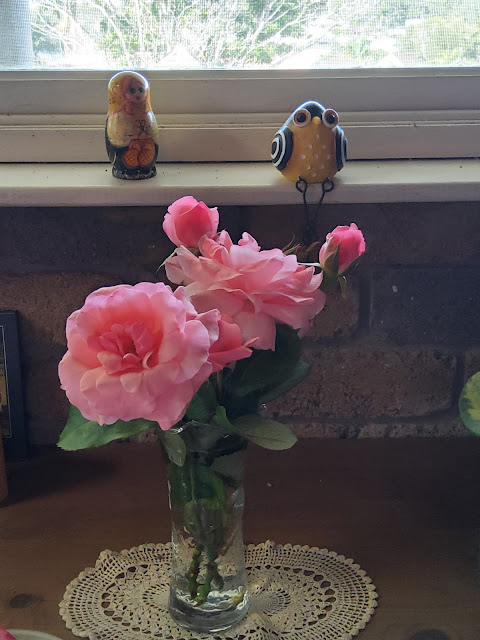 |
Queen Elizabeth Roses.
|
Well that is another week gone,
Till Next Time.

No comments:
Post a Comment
Thank you for commenting it really makes my day.